
Cake Ball Cake and a Baby Gender Reveal!
Gender reveal parties are all the rage right now for new mommas. The parents-to- be entrust a friend to know the gender of their child and at a party amongst friends and family, the baby’s gender is revealed. This can be done multiple ways but my favorite is through cake! A few months ago a friend asked me to bake her a gender reveal cake, which was so fun. When one of my closest friends announced that she was pregnant, I basically demanded that she let me make her a gender reveal cake, okay, I did not demand, but I strongly insisted. This special friend of mine just happens to LOVE cake pops. You may think, yeah, they are tasty, but this girl LOVES them. Because of this, I offered to make a gender reveal cake ball cake.
I had never seen a cake ball cake in person, nor had I ever constructed one before so I knew it was going to be a challenge. Thanks to good ole Pinterest, I was able to find a few examples and one website that provided some instructions for constructing the cake. I did not take pictures as I went along to give more detail to the actual putting together of the cake so here are some detailed instructions instead.
1. Make the Cake Balls:
What you need: 2 boxed cake mixes, 1 can complimentary flavored frosting, 2 bags of each pink, white and blue Wilton Candy Melts, piping bag and small writing tip to decorate, parchment paper, toothpicks, cocktail skewers (for places the balls on the cake), PATIENCE
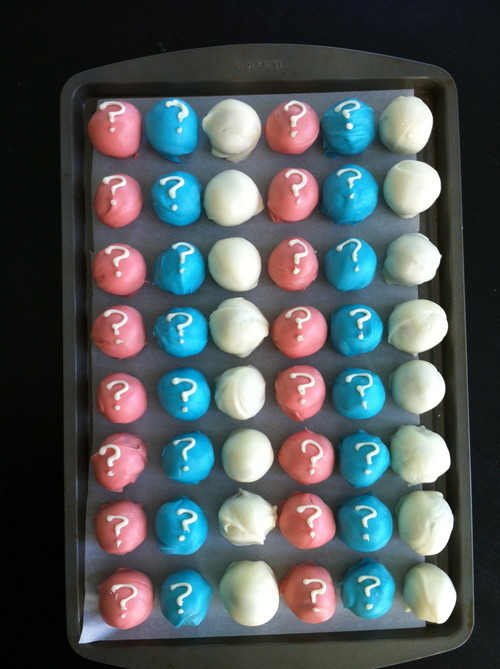
I use Bakerella’s technique in rolling the balls, which includes baking a box cake, crumbling it up once cool, adding frosting and rolling into balls. Once the balls are chilled in the fridge, you can dip into melted candy melts. I dipped equal amounts of pink, blue and white balls and decorated the pink and blue with a white question mark. My favorite cake to use is the Betty Crocker’s Vanilla cake and vanilla frosting or Betty Crocker’s Devils Food cake with chocolate frosting. For this occasion, because I was definitely feeling a bit like fall, I used a Spice Cake mix with cream cheese frosting. You may ask, “Why don’t you use a homemade cake?” I figured, why go through all the trouble of making a cake from scratch when I am just going to crumble it up anyway.
For a two layered, 9 inch round cake, you will need around 72 cake balls. I think it actually ended being around 21 balls per row. It is nice to have extra since mistakes are inevitable! For your sanity, make the balls 1-2 days ahead of when you plan to use them. That way, if anything goes wrong or you get sick of rolling and dipping balls, you have a few days of flexibility.
*If you have never made cake balls before, be sure to practice prior to constructing the cake. Also, I did not make cake pops, just cake balls. To do this, you drop the cake ball into the candy melts, roll it around to coat, use a spoon to remove from the chocolate and then “drop” the ball onto a baking sheet covered with parchment paper.
2. Bake the Cake
In the past I have used a vanilla cake and vanilla buttercream as the base for my gender reveal cakes. This time, I chose to make a Snickerdoodle Cake. The snickerdoodle cake is a cinnamon cake with a brown sugar buttercream frosting. When this cake is done baking, your house will most definitely smell like a cozy fall day.
3. Make and Color the Frosting
When I tested the brown sugar buttercream to see if it would hold a pink or blue food coloring for the reveal, it did not go well. I decided to make a vanilla buttercream for the middle of the cake to color and then the brown sugar buttercream for the outside of the cake. You will need 2 batches of the brown sugar buttercream, and 1 batch of vanilla (use your favorite recipe, mine comes from the Primose Bakery cookbook.)
4. Build and Frost the Cake
Build your cake on an 8 or 9 inch cake board, this way you can transfer it easier onto a cake stand after decorating. You can create your cake with as many layers as you would like, but I chose to stick with a simple 2 layer cake. Use the colored vanilla buttercream between the layers. Start with the frosting in the middle of the cake and spread towards the outside. Frost the whole inside of the cake evenly leaving about a ½ border unfrosted. You will want to use the brown sugar buttercream for that part so that no colored frosting can be seen. Do you see what I mean? This way when you frost the outside of the cake, you will not have to worry about bits of the blue or pink frosting peaking out. Place the second layer on top and begin to frost the cake. Do not worry too much about crumbs in the frosting, as the cake will be covered in cake balls!
5. Place the Cake Balls
Before you start putting the cake balls into the cake, guestimate how many you will need to go around. My cake used 21 balls per row, and I decided on 3 rows. The cake balls will have a flat side, which was sitting on the baking sheet. That side is where you stick the skewer to go into the cake. Be sure to “clean up” the bottom of your balls by removing excess chocolate around the base. You can either put the skewer into the cake then push the cake ball into it, or visa versa. I thought it was easier to push the skewer into the cake and leave enough sticking out for the whole cake ball to fit onto.
When you start the next row, be sure to have the cake balls “sit” between the ones below. That way you will have a better fit and the cake will look more complete. Depending on how much your cake rose, the size of your cake balls, etc, the third row of balls may need to be stuck into the rim of the top of the cake if they are unable to go into the side. You can make modifications as you go along. Because I did have some cake balls that breached the top of the cake, I chose to pipe a line of frosting around the balls to disguise their ugly behinds! It worked out great.
6. Place your Topper
If you chose to make a topper, do that last! I decided to be trendy and use the flag banner with 2 long skewer sticks. To make the banner, I used card stock that I folded in half then cut into triangles. I used a piece of kitchen twine and glued the triangles around the twine.

Ta-da!!!!
I will just say that the cake balls and I were not on good terms by the time they went onto the cake. It was a bit of a frustrating process and involved uncooperative candy melts. However, I will say, this was one of the most rewarding cakes I have ever constructed. It turned out beautifully and the imperfections of the balls made the cake unique. Let me tell you, this cake was a beast and as we drove it to the gender reveal party, I thought my arms were going to fall off holding it up, praying that any of the bumps would not make the balls fall off. Go ahead and giggle now, if you have not already, I do mention balls multiple times.
We arrived at the party and it KILLED me to be the only person who knew the gender of the baby! After all the guests arrived, had a few snacks, took some pictures of the cake, we were ready to go! To make the cake easy to cut, I removed several balls so a piece could easily come out.

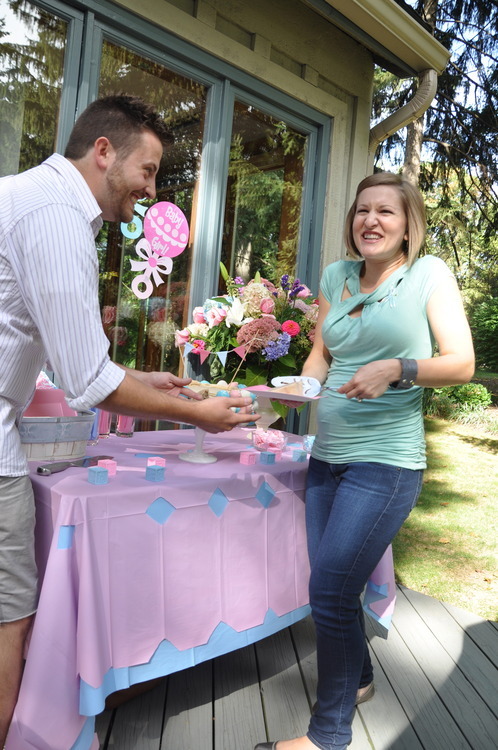
Let the cutting begin!!
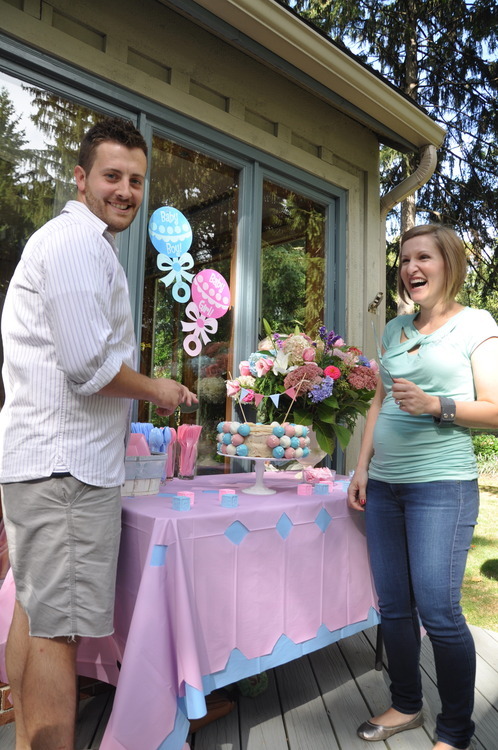
This was one nervous Daddy-to-be!

Beautiful shot taken by a friend, such joy!!
It’s a..

Boy!!!
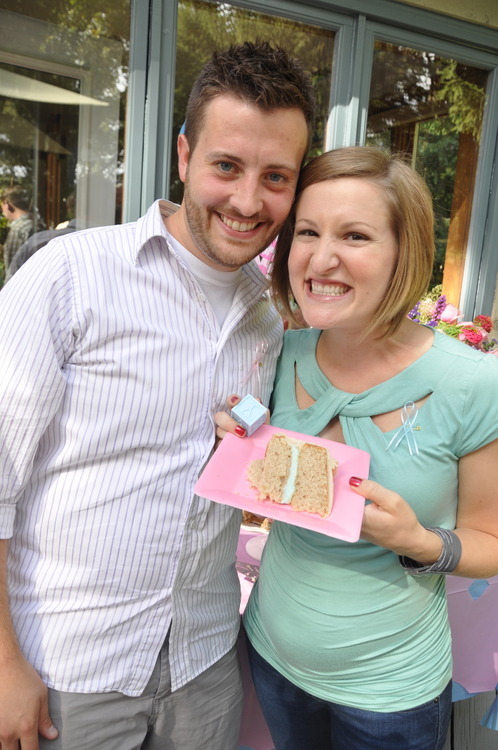
Congrats to my dear friends! I was so happy to make this special cake for you on such a fun day!
For the rest of you, if you have decided to make this cake, you will want to removed the rest of the balls to cut up the cake for your guests! Enjoy!