My personal goal with this course is to turn as many of my experiments into “things” that are “real” rather than just making lots of “samples” which go into little boxes which then go into little drawers which then go onto big shelves which then make small apartments even smaller.
Fab Academy Week 5 - Electronics Production

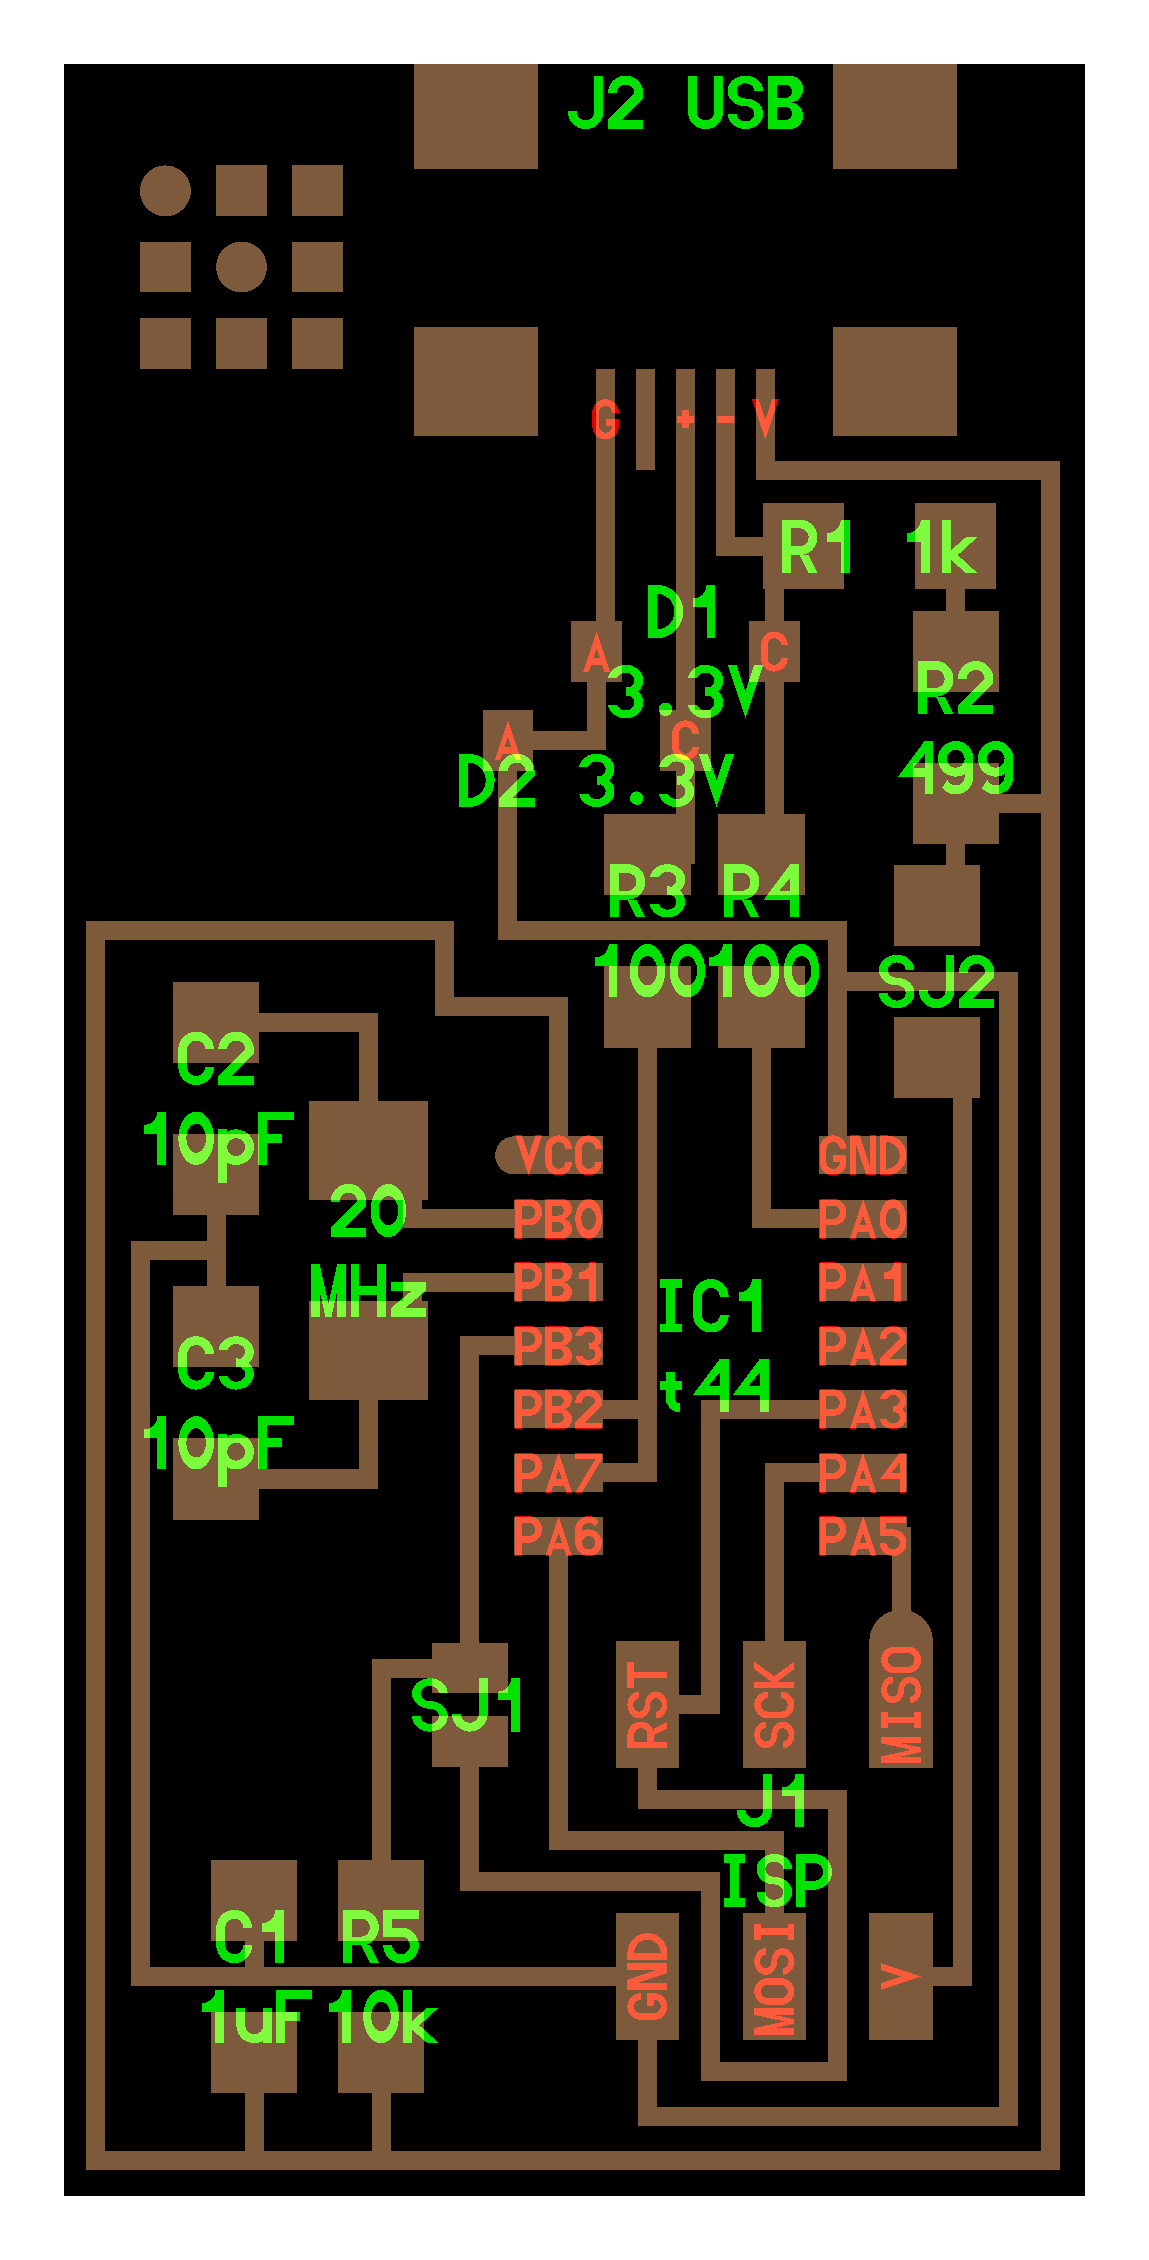
After scanning back through the instructions I found the entry about the solder bridges. I set up my soldering station a second time, and bridged the two areas specified on the diagram. Then I connected the FabISP back to my computer and ran the steps again. It worked this time.
The final step, once the FabISP had been programmed, was to remove the solder bridges. Unfortunately this is not something that I got to see a demo of in class so I pretty much had to guess how to do it. I had overheard other students talking about using a woven rope of fine copper wire to “wick” the solder off of the board, but had not seen it demonstrated. I should mention at this point that I was working on this project fairly late at night when no-one else was in the lab, so there was nobody available to ask about this.
After some fudging around with the copper braid and the soldering iron, I managed to remove a little bit of the solder. It didn’t look pretty, and probably a lot more of the solder could have been removed, but it was enough to eliminate the bridge so that the two areas of copper were no longer connected. Good enough for me.
I was initially stressed out about this project because it seemed very technical and involved, plus this week brought with it many outside obligations and deadlines such that I did not expect I would have time to finish the FabISP. However once I realized that it was not necessary to actually *understand* any of the concepts or processes I was using, it became a simple matter of following basic steps.
