Constitutionally Modern DIY
Modern, funky craft/DIY creations. Good for gifts or yourself.
Subscribe to my RSS feed
WHAT:
Making things. Affordable and accomplishable things.
WHO:
Suitable for amateurs, average Janes/Joes.**
**Particularly useful for urbanites lacking power tools or even a kitchen table.
WHEN:
Whenever I goshdarn can. Lay off me.
WHY:
Because looking at other people's ideas is awesome fodder for my noggin so shouldn't I share a decent idea that someone else can make perfect? Send me a pic if you make something similar to what I post!
WHO'S THIS "ME"?
I am Lynn. I'm an urban planner by training, and a maker of random items by vocational calling. I do my projects in my apartment in Brooklyn, or on the stoop or roof. If you see a 5' 3 7/8" female breaking concrete blocks out on your street, you probably live on my block.
Search
Additional pages
Contact me
Dopey Halloween costume for a baby…<$40

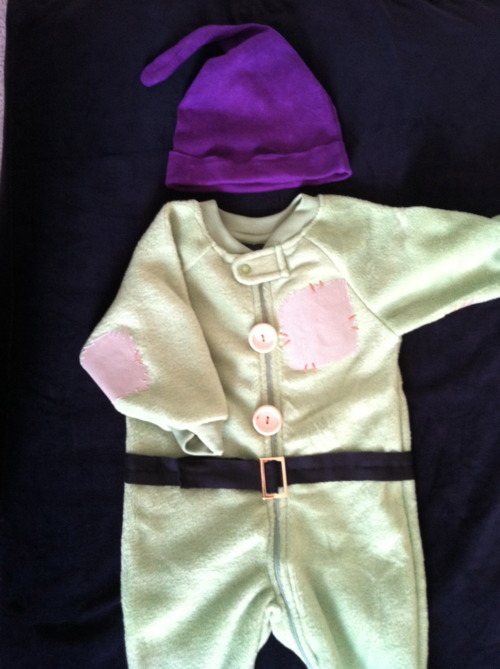
My first Halloween costume - I think a success. I made a Dopey costume for my friend’s adorable baby boy (his big sister is going as Snow White). It was surprisingly easy, even without a sewing machine.
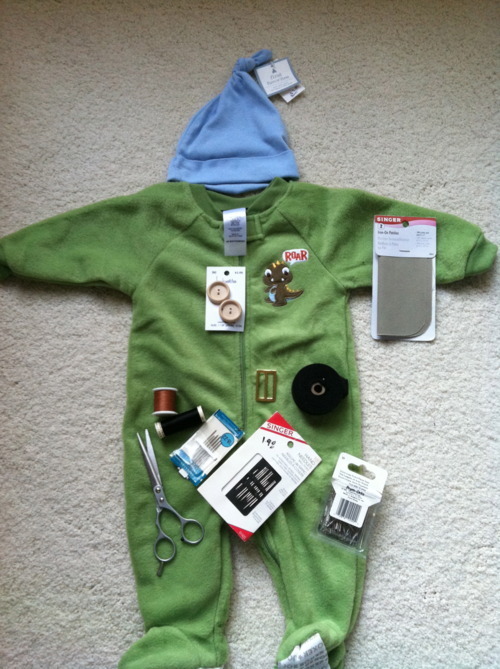
You need:
- Green long-sleeve romper
- Snugly fitting baby hat (Baby Gap makes perfect ones)
- Tan iron-on patches & iron
- Brass-colored belt buckle
- Black belt fabric (I used 1" black cotton twill tape I had lying around)
- 2 wooden (or just light brown) buttons
- Brown and black thread
- Needle & pins
- Scissors
- Some means of securing the loose end of the belt (snaps, velcro, hook & thread loop, etc.)
Want to see the steps?
Costs = <$40:
- Green romper = $20
- Snugly fitting baby hat (I used Baby Gap) = $2.00
- Purple dye for hat = $2.35
- Tan iron-on patches = $2.50
- Brass-colored belt buckle = $1.75
- 1" black cotton twill tape = $7.25 for whole spool
- 2 wooden/light brown buttons = $2.00
- Everything else = free or already available around the house
How to:
- This was my basic strategy:
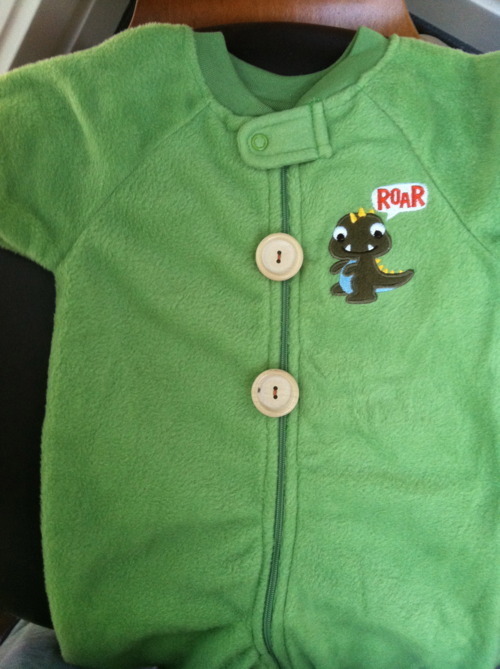
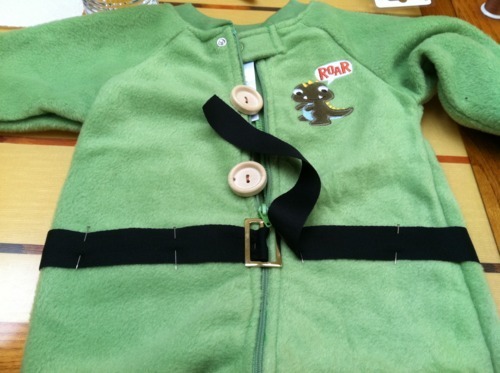
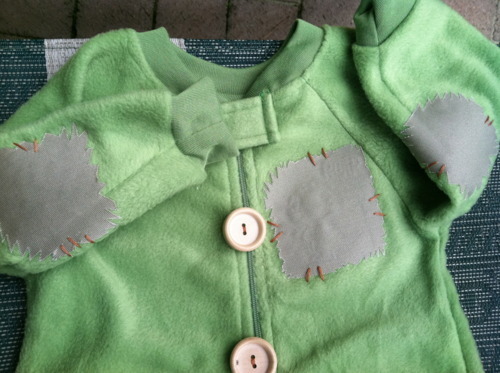
- First I added wooden buttons.
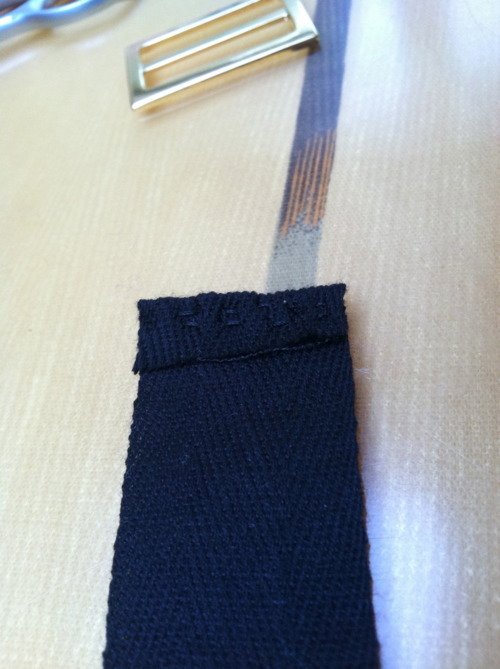
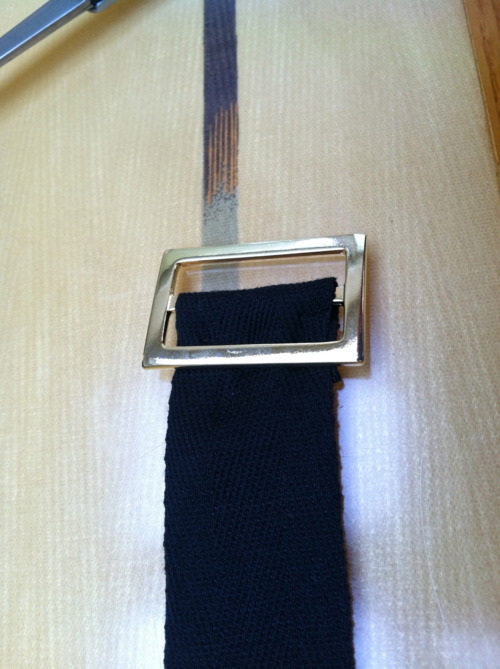
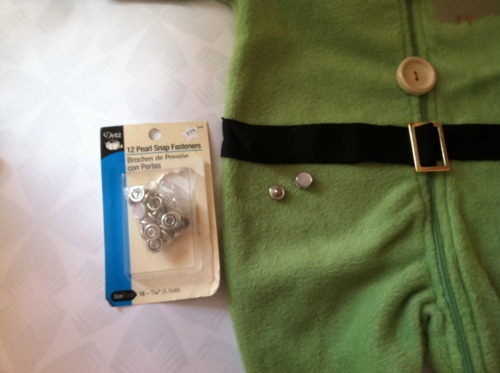
- Then I started working on a belt – I always have 1" black cotton twill tape lying around because it’s perennially useful. I sewed off the ends a bit to prevent fraying, then looped it through the belt buckle.
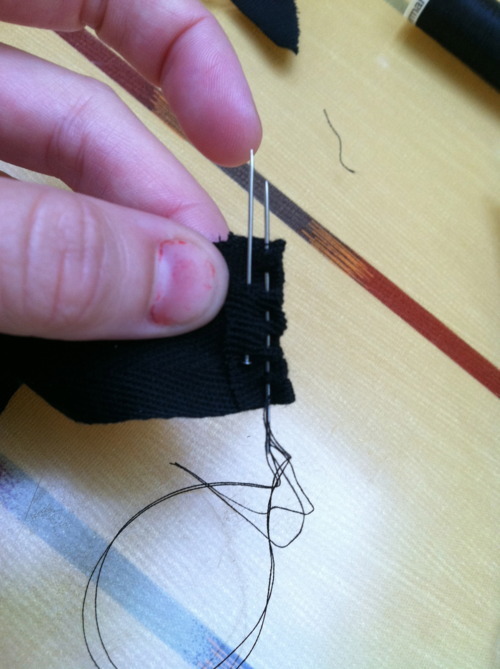
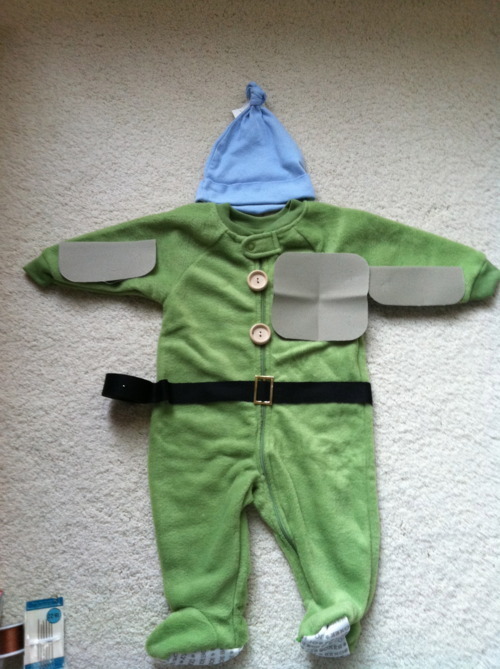
- Then pinned on the belt and hand-sewed the “belt” on.
- Hard to see, but I tried to make tiny stitches spaced 1+ cm apart.

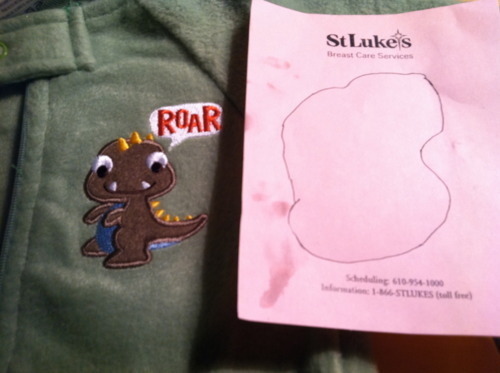
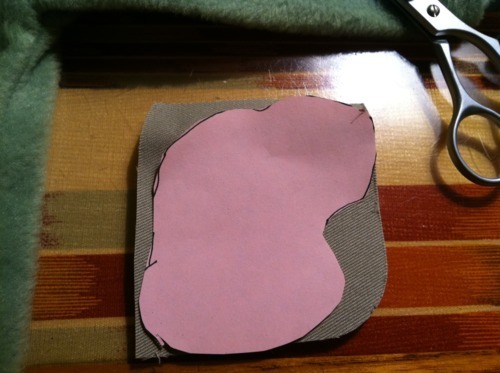
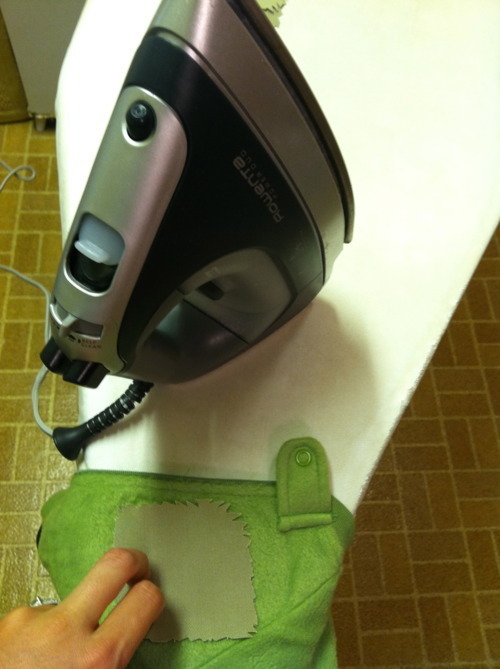
- I had to cover this dinosaur, so I traced the outline on scrap paper, and cut a faux-ragged iron-on patch in roughly that shape.

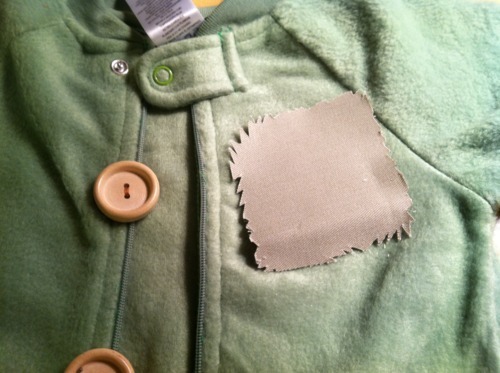
- Made similarly ragged cuts in my remaining iron-on patches for the elbows…
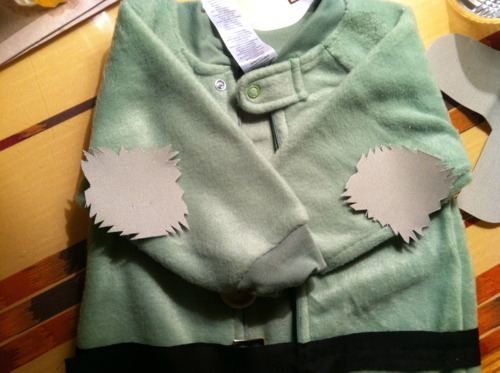
- Ironed those suckers on…
- Then I added some big stitches to the iron-ons to make them look more authentic.
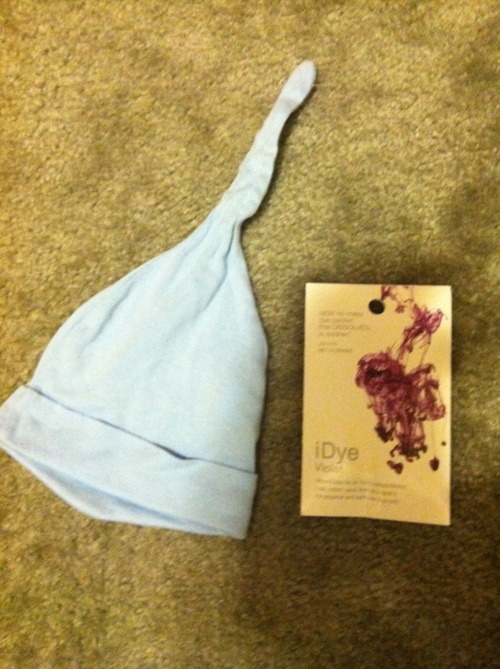
- Now for the hat – Baby Gap has these great little hats, but I needed purple, so I dyed it. Then I triple-washed the hat (once dyed) to make sure to remove any excess.
- I finished off the loose end of the belt with some snaps I had lying around, but there’s a billion other ways to do this with what you have on hand (some small bits of velcro is probably easiest).
- And there it is…
Notes
constitutionallymoderndiy posted this