Light settings and Silver Efex pro 2
Because I promised myself to shoot at least some photos with the M9 everyday, I walked into the park today. Again practicing focus, but also looking at different ways to get the right settings in different ways. Because on a M9 you can’t really use any program modes (there’s one, the aperture mode, but you don’t get a M9 to use it) you really have to know your shutter, aperture, ISO combinations… Because it had been a while since I had to really think about these things it was something to get used to again.
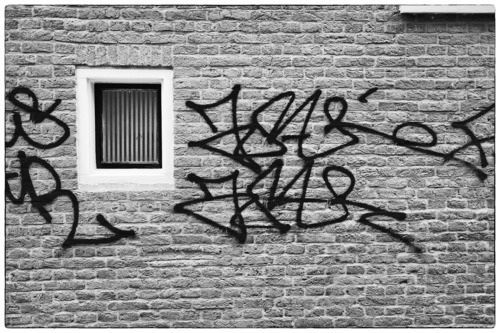
Summicron 35mm, 1/250sec, f2.0, ISO 200
Luckily I found a nice blog explaining “Sunny 16”. This is the name of a simple rule stating that when in bright sunlight at ISO 100 you can close down to f16 and your shutter will be 1/125 sec. Going from this you can vary one of the settings, as long as you compensate somewhere else. So shooting with f2.8 at ISO 100 means you’ll be shooting with 1/4000sec. An other example is f16 at ISO 400 will mean shooting at 1/500sec. This is still when in bright sunlight.
Of course these are estimate settings:
Sunny day, ISO200, F2.8, 1/4000
Sunny day, ISO200, F8.0, 1/500
Overcast, ISO200, F2.8, 1/500
Shadows, ISO200, F2.8, 1/125
Interiors, ISO800, F2.0, 1/60
Just to give a complete story, I’ll give the full stops in all three settings. Shutter and ISO are easy, they double up. Aperture not exactly. Again I had to look it up as well to be absolute sure. With the digital cameras having half stops, thirds and what not, I have to admit that I was in doubt every now and again. So here goes:
aperture: f1, f1.4, f2.0, f2.8, f4, f5.6, f8, f11, f16, f22
shutter: 1, ½, ¼, 1/8, 1/15, 1/30, 1/60, 1/125, 1/250, 1/500, 1/1000, 1/2000, 1/4000
ISO: 100, 200, 400, 800, 1600, 3200, 6400
To have a good read about settings you can use with street photography, click here
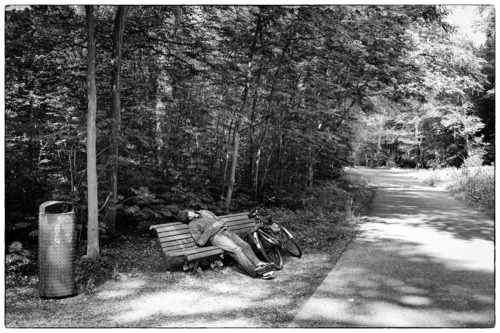
Summicron 35mm, 1/250sec, f4.8, ISO 500
Now for something different. Up till now, I have been mainly using color in my photos. Since I’m completely rediscovering myself I recently have a black & white plugin for Lightroom as well as Photoshop, called Silver Efex Pro 2. Converting your pictures to black and white is absolutely brilliant here. You can choose from an enormous amount of presets like “push process” or “fine art” but also between different original “old black & white film” presets like Kodak Tri-X or Ilford PAN F.
If you choose any presets of any sort, you can still modify everything exactly to your likings. There are three main controls: brightness, contrast and structure. Brightness and structure, each have the option to adjust separately in high, middle and blacks. Both have got an extra slider for fine tuning. Contrast has got three options: amplify whites, amplify blacks and again a fine tune slider. You can also choose several color filters.
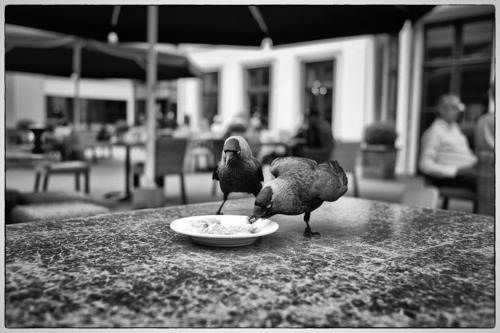
Summicron 35mm 1/1000sec, f2.4, ISO 400
Also it’s very easy here to use selective adjustments. Just put a control point in the picture and you can adjust in any radius within the photo. You can put as many control points in your picture as you like. Next to this all, you can adjust all color chanels separately as well, put in grain as you wish, use vignette, toning (of the blacks and the whites separate again) and the list goes on and on. You can even choose your borders in the end. I haven’t figured it all out just yet (you don’t learn Photoshop in one night either) but I’m already sold.
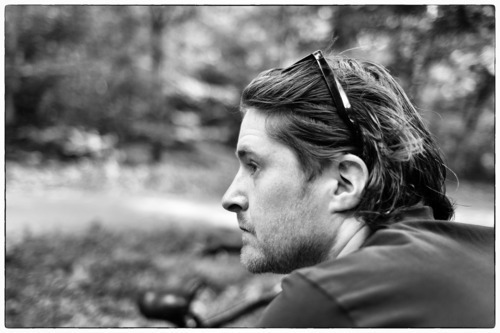
Summicron 35mm 1/250sec, f2.0, ISO 500
4 notes
instanceoutoftime-blog-blog reblogged this from amanwithaleica
littleappleseed liked this
amanwithaleica posted this