
My deviled eggs…
…are famous.
At least within my social circle of family and friends. As my cousin put it this Thanksgiving, “If you didn’t bring eggs…well, we’d wonder why you came.” (Hopefully, she was joking.) As I was making them today I received a text from an old friend saying he missed my deviled eggs.
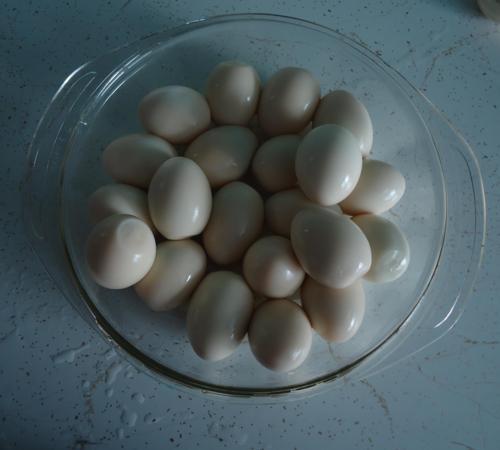
For Thanksgiving, I will make a tray for dinner and then a whole other tray to have with leftovers. 48 in total. That’s a lot of eggs.
Want to know my secrets? Here goes:
***Buy your eggs about 4 or 5 days before you’re going to make them. Fresh eggs are harder to peel. And set them out an hour before you boil them, this will reduce boiling time and I feel like it makes them less “rubbery.”***
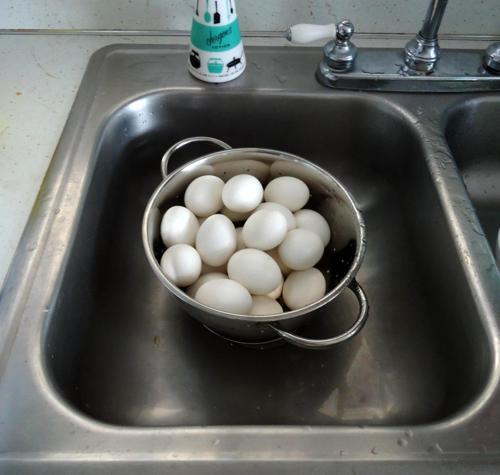
I start by boiling the eggs. No salt in the water, singe layer of eggs, medium heat, let them simmer until they’re done. I don’t know how long this is, it will just suddenly occur to me that the eggs are done. Once the eggs are done let them cool, by bathing them in ice water or letting them sit over night in the fridge. ( I prefer fridge, but I let them sit out for an hour before I peel them, so my hands don’t freeze.)
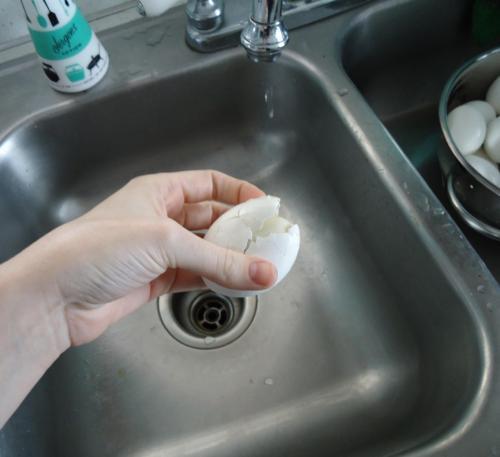
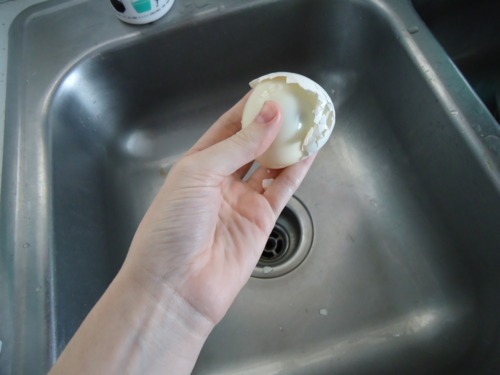
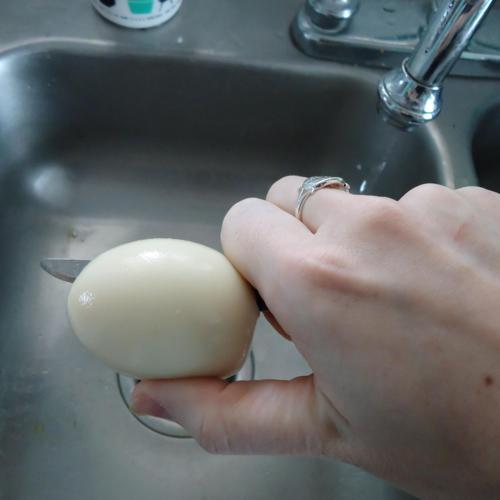
If the eggs aren’t cold when you peel them, they will tear. This is the most frustrating thing in the world. Think of them as you would a balloon in a freezer, make them cold and the whites shrink pulling away from the shell. Shells on chilled eggs basically fall off.
I peel eggs into a grocery bag, I don’t like them everywhere in my garbage can. Plus, if you compost, this makes them easier to save.
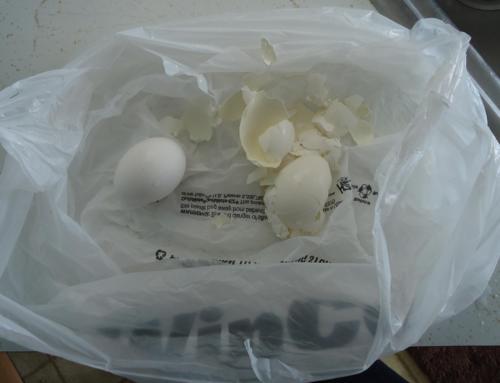
Rinse each egg after you peel it and set it aside.
Then take a paring knife and half the eggs one by one.
Pop the yokes out into a mixing bowl as you go.
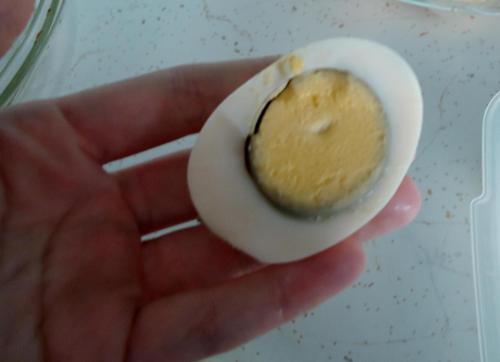
There is a way to prevent the outer edge of the yolk from graying, but it doesn’t really matter for deviled eggs, so I don’t bother worrying about it.
***Wonder how I get all my yokes centered in the eggs? I tip the carton on it’s side the night before. Eggs aren’t meant to sit up as they are sold, setting the carton on it’s side allows the yolk to settle in the middle and be cradled/protected by the whites.***
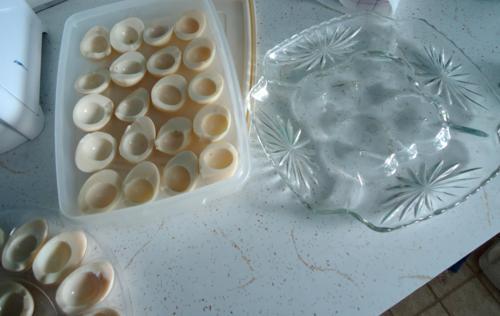
After cutting the eggs in half, arrange them on a plate.
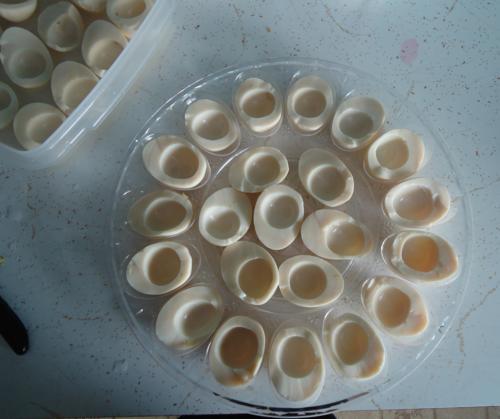
I have a million egg plates ( I collect them). But any plate will do. They’re kind of slippery though, so find one with a lip or something if possible. My favorite one actually has a lid to keep them in the fridge (the rectangle one, by Tupperware). You can find them at antique stores. I have some on the walls in my dining room.
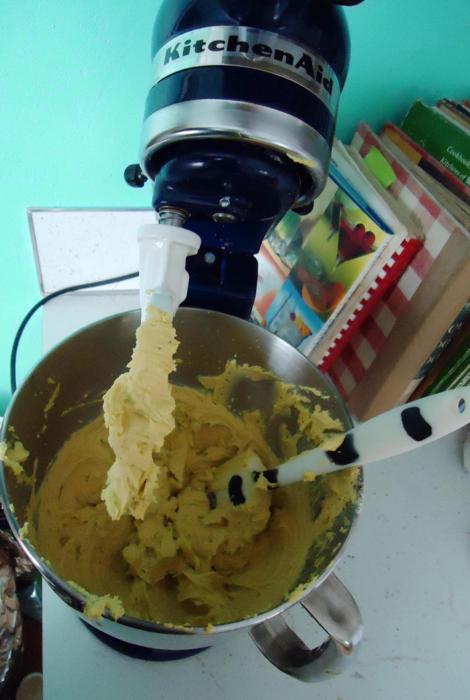
Now take the yolks and break them up with your mixer or a fork. I switch back and forth between beaters when I make them. I don’t use a recipe, I’ve never had one. I just kind of make it up.
First add mayonnaise. Mix until smooth.
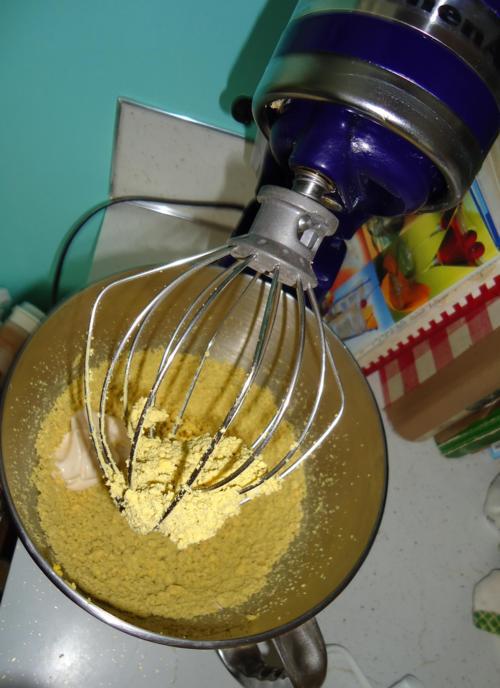
I use a large wisk to break up the yolks and then the classic beater to mix everything in. I also put mustard and salt and pepper in the filling until it looks/tastes right.
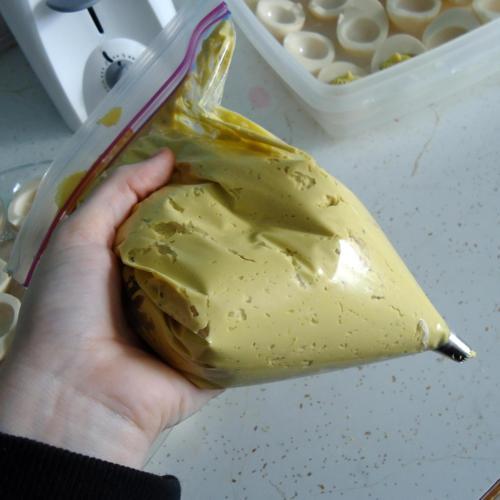
Once mixed I transfer the filling to a piping bag. I just used a Ziploc with the corner cut off and a piping tip today. Pastry bags and couplets are a pain to clean for something this fast.
I then fill the eggs, they don’t have to be perfect because …
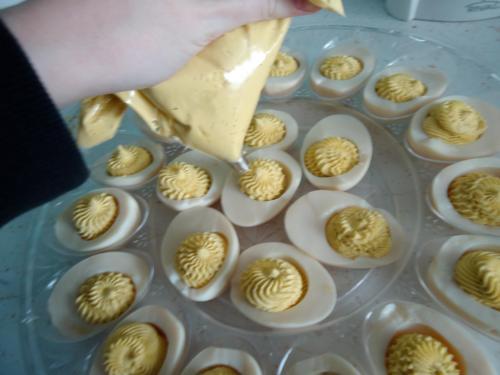
… I stick olives in them anyway.
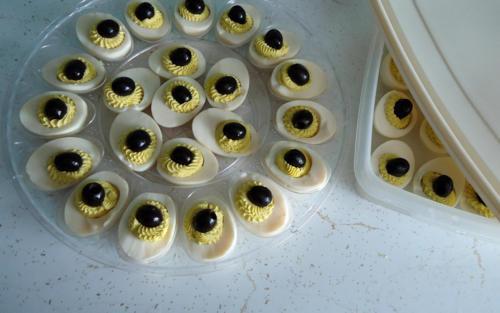
I usually dust them with paprika but was out.
So, why are my eggs so unique and sought after from BBQ’s to holiday dinners? There’s a secret ingredient in the filling.
But if I tell you, I’ll have to kill you.


