
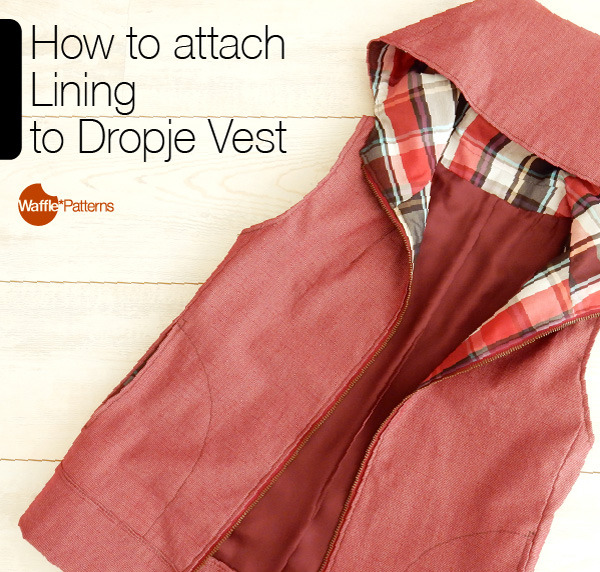
How to Attach lining to Dropje Vest -Part 1-
Here is a step by step photo instruction for How to line Dropje Vest. The pattern does not including the lining pattern, but it is not difficult to attach it.
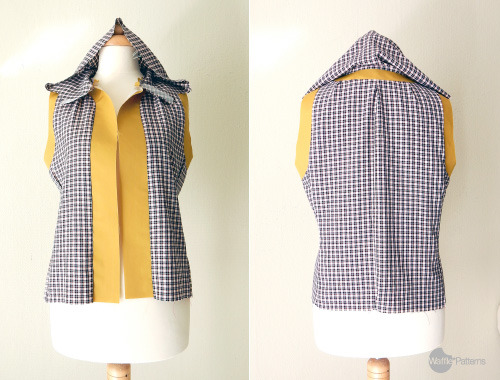
Dropje Vest is a popular item from my sewing pattern shop and perfect for your autumn layer.
This post is the part 1 and it’s about preparing the lining fabric pieces and connect them.
<prepare facing pieces>

We cut the shell fabric pieces the same as the no-lining type following the original instruction, except the Facing pieces. Add seam allowances to the facing pieces’ lines which will be connected to the linings later as shown in the pic.
<Preparing Lining Patterns>
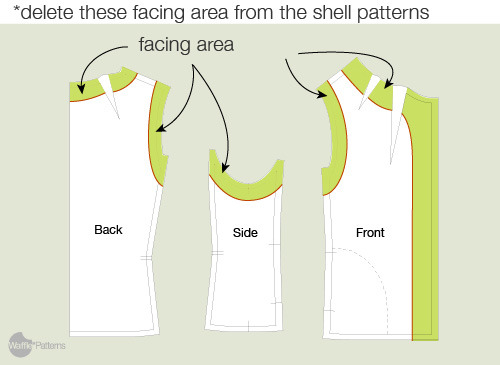
We make the lining pattern from the shell pattern of the Back, side and Front parts. Delete the facing area from the shell patterns as shown.
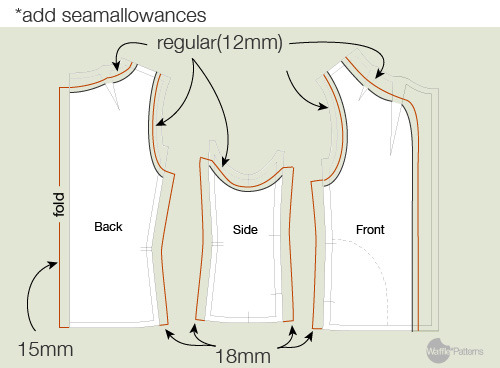
Add seam allowances as shown. Add regular 12mm allowance to the lines which will be connected to the facings. To the center back, add 15mm to make fitting ease. Also to the other seams, add 6mm extra width to make eases (the seam allowance will be 18mm total).
<Cut the Lining pieces>

Cut the lining pieces. *I’m cutting the hood facing pieces with the lining fabric. But you can cut these with the shell fabric.
<Connect Lining Pieces and Facing>
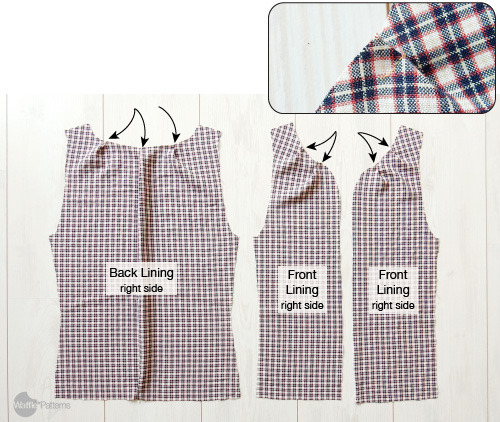
Instead of sewing darts, make pleats around the neck line and baste. Also make a pleat on the center back which added as the allowance.

Connect the Front Facing and the Front Bodice lining pieces, and the Back Facing and the Back lining pieces. Don’t open the pleats.

Place the Back and Side lining pieces right sides together and stitch the side seam. Fold the edge as shown in the pics and make small pleat for making some room.

*The lining pattern is partially larger than the shell pattern. We make small pleats like this to make some room for fitting.

Connect other pieces in the same way.
Connect all the lining pieces.

Finish the shell pieces following the instruction except the armhole facing.
we will connect those 2 pieces in the next post.
*****************
The Dropje Vest sewing pattern is available here. Also in Etsy shop.
*********************
follow me! Instagram /// Twitter /// Facebook /// Shop /// Pinterest //// Etsy Shop /// Newsletter