
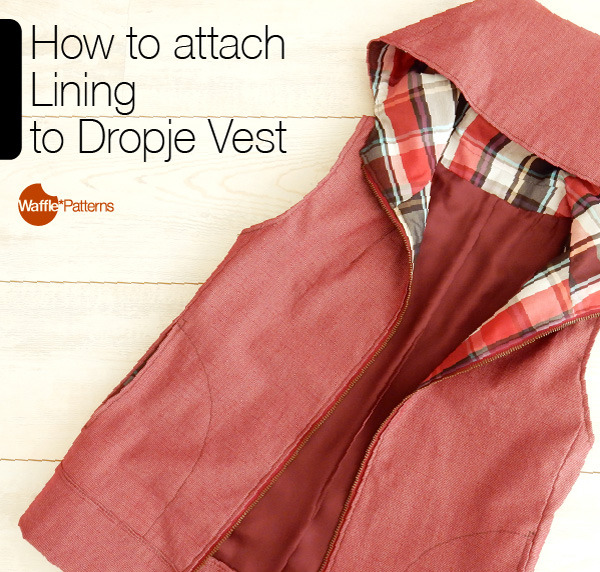
How to Attach lining to Dropje Vest -Part 2-
This tutorial post is the continuation from Part 1. We connect the Lining and Shell which we made in the last post.
************************
<Attach Front Zipper>
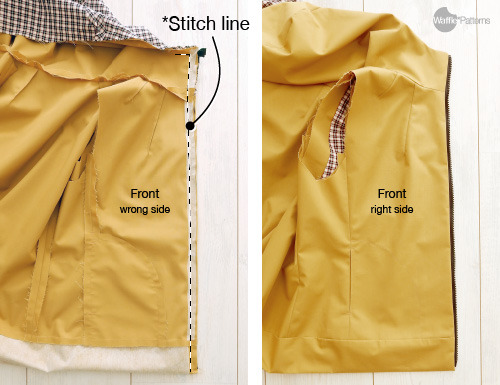
Sew the front zipper following the instruction and turn it right side out.
<Armhole>
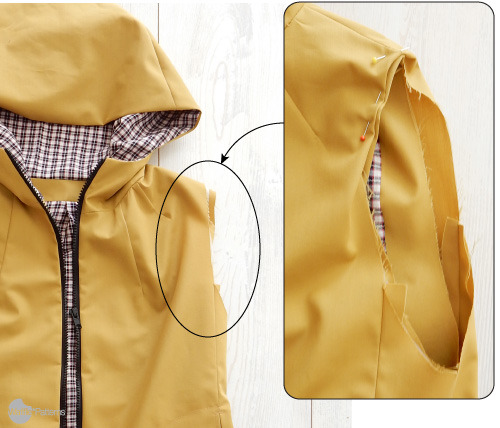
Line up both the armhole of the shell and the facing. Roughly fold the seam allowances as the finishing shape and temporarily pin the shell to the Facing as shown in the pic. We’ll re-pin them later.
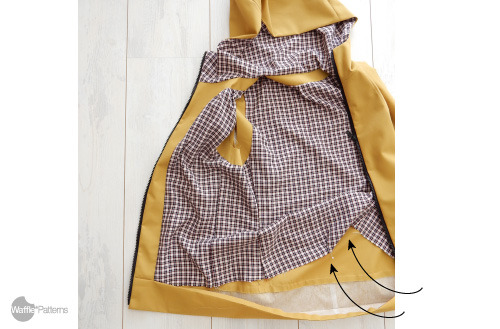
Put your hand between the lining and the shell from the hem and pull the armhole out.
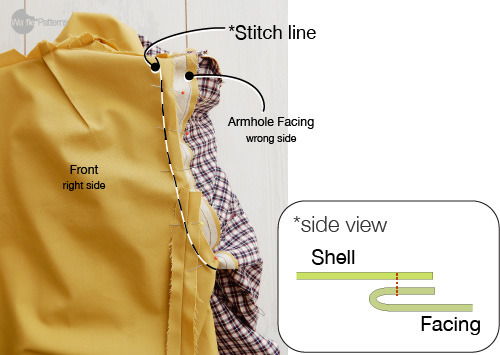
Re-pin the lining to the facing correctly right sides together, and sew the seam. It might be difficult to sew the circle continuously. so, stitch separately dividing the seam.
Clip into the curve of the seam allowance.
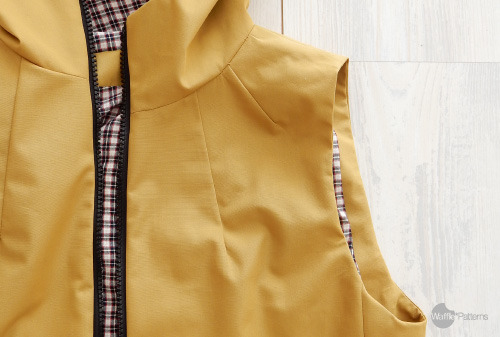
Turn it right side out from the hem. Finish the other side in the same way.
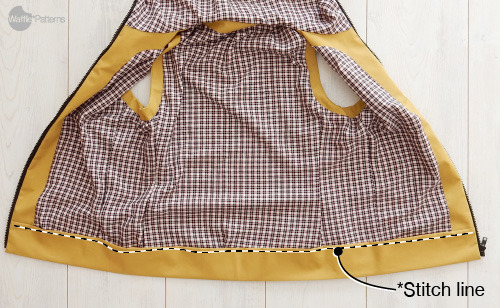
Finish the hem following the instruction, keeping to sandwich the lining hem between the hem belt.
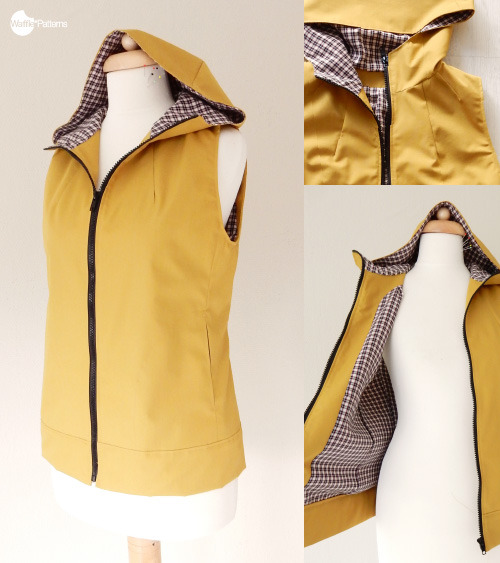
Finish with topstitching.
***** Voila! ******

Hope the instruction is clear.
If you have any questions about the pattern and instruction, please contact me. If you share your photos of your creation from my patterns on your blog or other media, please share with Waffle Pattern’s address and don’t forget the tag #wafflepatterns on the SNSs!
The Dropje Vest sewing pattern is available here. Also in Etsy shop.
*********************
follow me! Instagram /// Twitter /// Facebook /// Shop /// Pinterest //// Etsy Shop /// Newsletter